
OVERVIEW
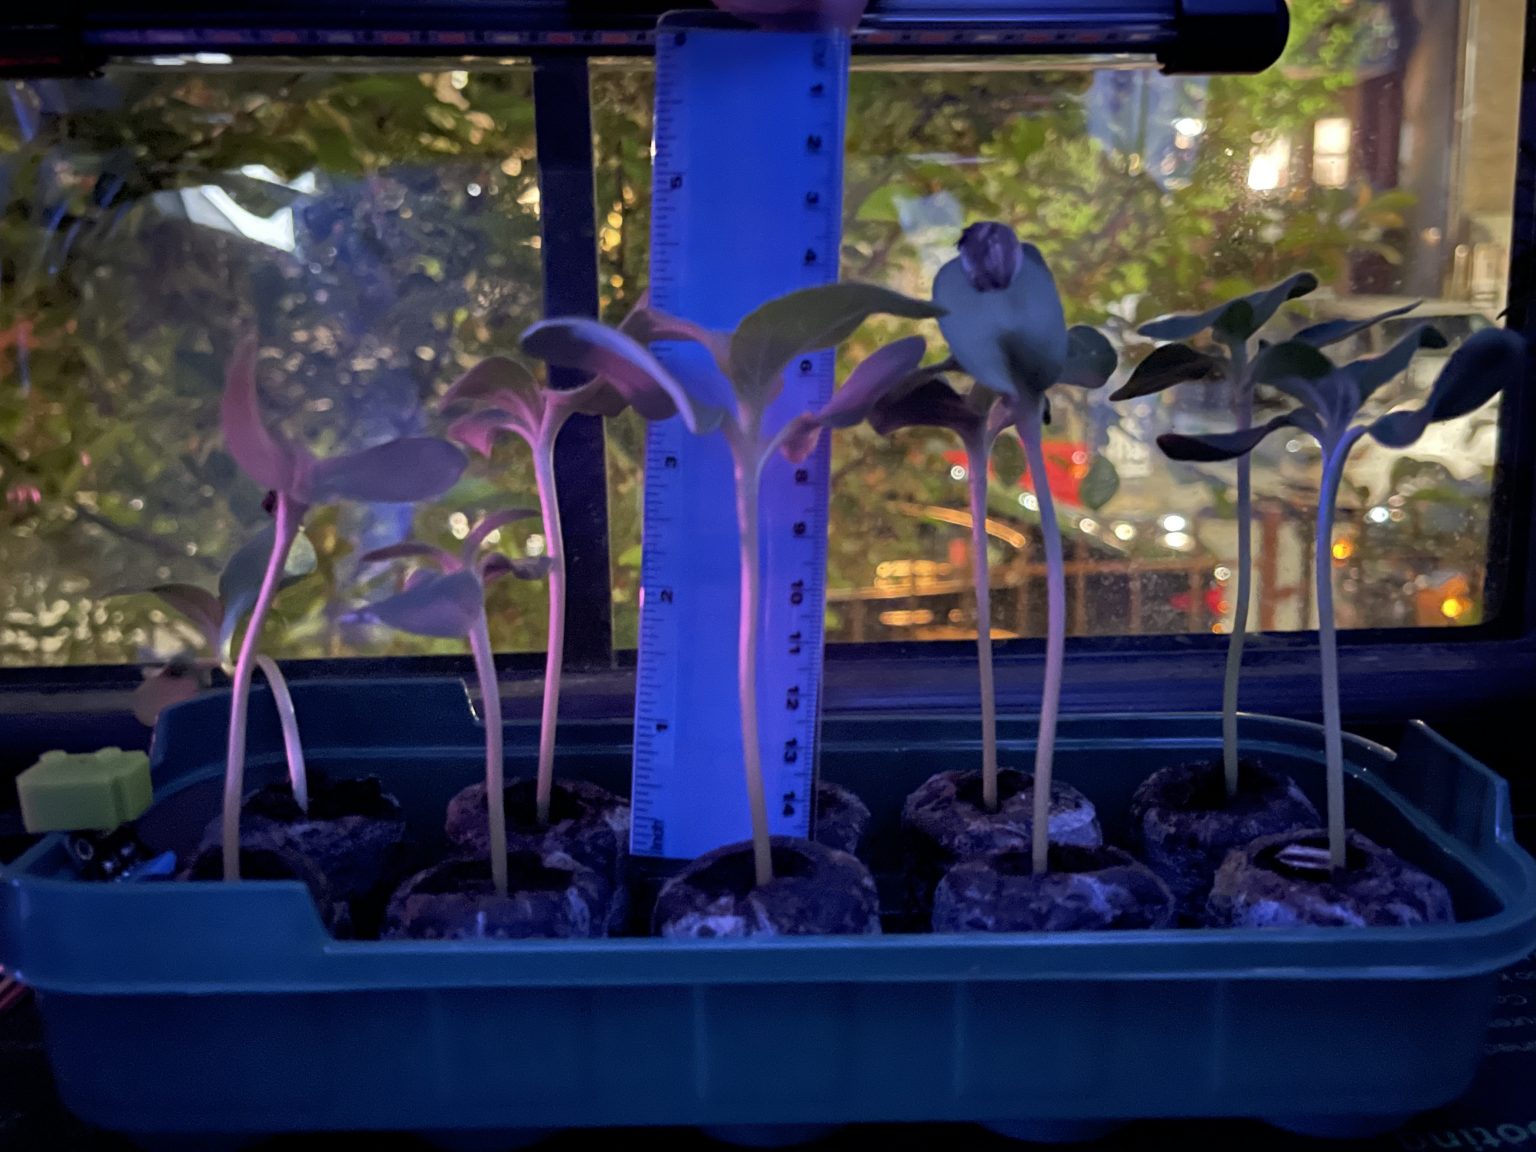
This project is a time-lapse of a tray of Titan Sunflowers. The setup consisted of a camera with a No IR filter (for night-vision) and temperature/humidity sensor connected to a Raspberry Pi 4, run headless (without a monitor) as it logged image snapshots and temperature/humidity readings of the first 11 days of growth of the seedlings.
Why Time-Laspe with Night Vision?
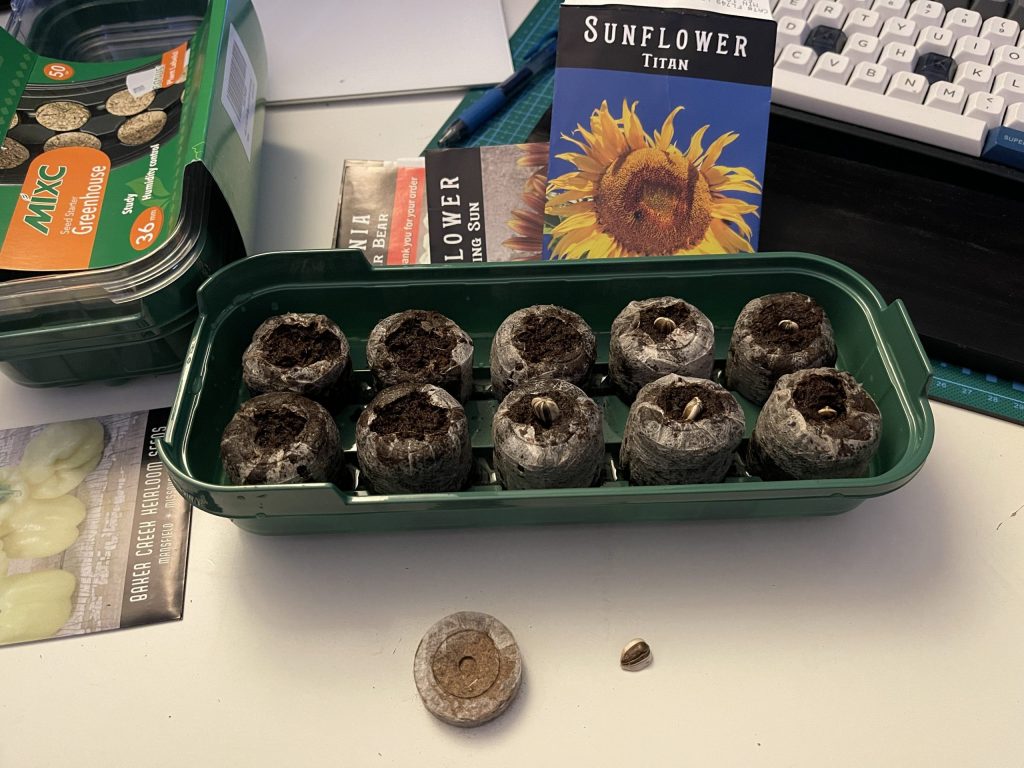
I was fortunate enough to have a small yard (‘yard’ makes it sound too big) in Brooklyn durning lockdown and, like many people around the world, took up gardening. I’d read about how fast these sunflowers grew and wanted to start some for my garden. I figured I’d start a tray and use a camera with night vision to create a time-lapse of one of my new favorite activities!
Check it out:
Process
Because of all the sensors and networked components, I decided to break this project up into tackleable pieces. “What are the basics of the project?” I asked myself. Once I got parts working, I could try to connect them, which made this project not only more manageable, but easier to troubleshoot.
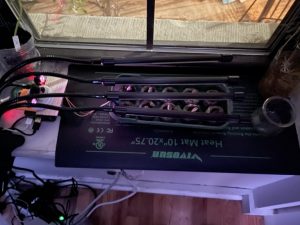
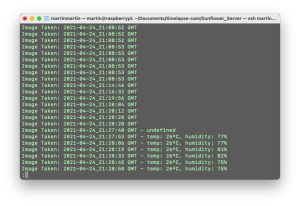
To create the time-lapse images for this project, I followed the Pi Recipe for A Timelapse Webcam Application. I went through and retyped the files to make sure I understood what was going on. Hardware-wise, I got the Pi with No IR webcam, a heated mat (to help the seedlings sprout), seedling tray with planted Titan sunflower seeds (that can grow to be 10′ tall!), and grow lights set up in the window with a monitor, keyboard, and mouse attached. I found a way to log each camera capture by saving a line with the image name (which includes the date) using ‘fs.append’ function by including the ‘fs’ node module. TIP: If you use fs.write and restart the server, it will replace your log.
I decided that, once I had the program running, I would make sure the images were actually being saved in the file I wanted and that the log I was writing to was being updated. Once I’d done that, I gave the project a rest for the night, but, later while going over my day in my head, I started thinking about my project. I wondered if/how I could check on my project while sitting in bed, using my phone.
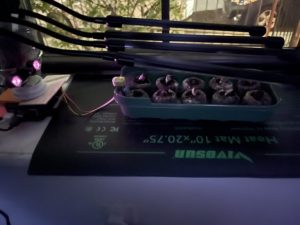
I thought, “Ok. If I know the IP address, I could connect, but I don’t have Terminal on my phone…” “I don’t need Terminal, if I can check on the control panel page that displays an image.” “How do I do that?” “http:IP.ADD.RE.SS would be the ‘domain’ info… Wait! The Pi has a name on the network!” “Do I need to type index.html… or…? Oh, :8080! Let’s check there!”
So I typed, “http://raspberrypi.local:8080” in the address bar of the Safari browser on my iPhone and got this:
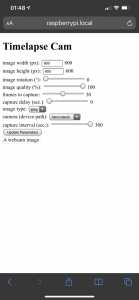
Man, this was a great feeling!
Major Success
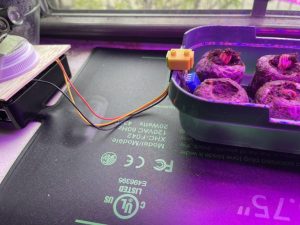
I wanted to add a DHT11 sensor, which records temperature and humidity, but didn’t have much experience coding remotely, but I decided I’d give it a try. To do this, I connected to the Pi via ssh, used ‘nano’ to edit the files, and ‘less’ to double-check the contents of the files and folders. Using console.log, I could incrementally check how the setup was working. It was initially intimidating, but the cool thing is that a lot of the commands (ssh-ing and using ‘nano’ and ‘less’ I was already familiar with.)
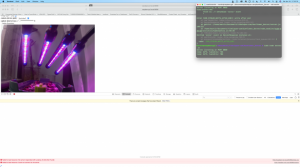
The biggest error I had was that when I was testing and tried running the ‘node server.js’ command, I was getting errors that I needed root permission, which I couldn’t figure out. I realized that the issue I was having with PM2 was that it was being stored in a root file, so I tried running PM2 and was able to get the server running!
Takeaways
I had a number of successes with this project. I’d never programmed a device remotely, which felt really empowering. I also appreciated that this project allowed me to branch out its features and functionality as I went. Specifically, the takeaways I’ll most appreciate from this project are the epiphany of being able to remote login to my Raspberry Pi via my phone and the notion of approaching a project with the idea of having a core which you build out from.